Creating a captivating logo is a fundamental step for any business looking to establish its brand identity. A well-designed logo not only reflects the company’s mission but also resonates with its target audience. In this article, we will delve into the process of designing stunning logos using Adobe Illustrator, a powerful tool favored by graphic designers worldwide. We will explore various techniques, tips, and creative approaches to help you create logos that stand out in a crowded marketplace.
The Importance of Logo Design
A logo acts as the face of a company. It is often the first interaction a potential customer has with a brand, making it crucial to design one that is memorable and effective. Here are some reasons why logo design is so significant:
- Brand Recognition: A unique logo helps customers to instantly recognize your brand among competitors.
- Professionalism: A well-crafted logo demonstrates that your business is established and trustworthy.
- Versatility: A great logo can be applied across various mediums and remain effective, from business cards to billboards.
- Emotional Connection: The right logo can evoke feelings and create a connection with your audience that goes beyond the product itself.
Getting Started with Adobe Illustrator
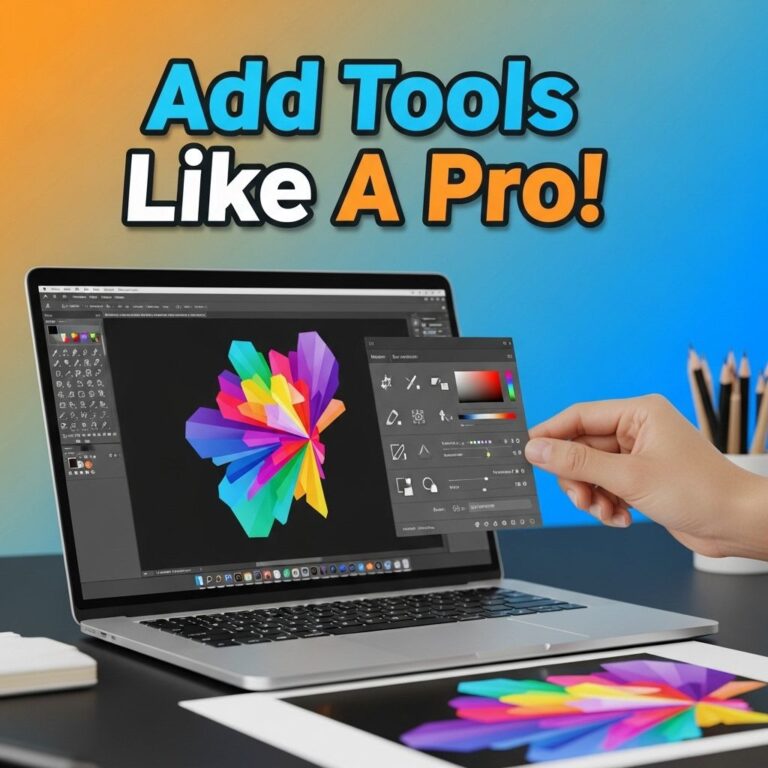
Adobe Illustrator is a vector graphics editor that provides numerous tools and features for logo design. Before diving into the design process, it’s essential to familiarize yourself with the software. Here’s a brief overview of the interface:
Interface Overview
- Toolbar: Contains tools for drawing, shaping, and editing.
- Control Panel: Displays options for the selected tool or object.
- Artboard: The workspace where you create your designs.
- Layers Panel: Manages different elements in your design.
Designing Your Logo
Now that you are acquainted with Adobe Illustrator, we can begin the logo design process. Follow these steps to create a stunning logo:
1. Research and Inspiration
Before starting, gather inspiration by looking at logos from competitors and across different industries. Use platforms like Behance or Dribbble to find design inspiration. Consider aspects like:
- Color schemes
- Typography
- Shapes and symbols
2. Sketch Your Ideas
Grab a sketchbook and start brainstorming logo concepts. Don’t worry about perfection at this stage; focus on getting your ideas down on paper. You can sketch different arrangements, symbols, and typography options. Select the most promising concepts to develop further.
3. Set Up Your Document
Open Adobe Illustrator and create a new document. Here are some settings to consider:
| Setting | Recommended Value |
|---|---|
| Artboard Size | 1000px x 1000px |
| Color Mode | RGB (for digital) or CMYK (for print) |
| Resolution | 300 DPI (for high-quality output) |
4. Create Vector Shapes
Use the Pen Tool, Shape Tool, or Brush Tool to create your logo’s elements. Remember:
- Keep shapes simple and recognizable.
- Utilize negative space effectively.
5. Choose Your Color Palette
Select a color palette that represents your brand. Consider the psychology of colors:
- Red: Energy and passion
- Blue: Trust and professionalism
- Green: Growth and health
Use the Color Guide panel in Illustrator to create harmonious color combinations.
6. Typography Matters
The typeface you choose can greatly affect the logo’s personality. Here are some tips for selecting the right font:
- Ensure legibility at various sizes.
- Match the font style to the brand’s voice (e.g., modern, playful, serious).
7. Fine-tune Your Design
Refine your logo by adjusting the alignment, spacing, and proportions of elements. Here are tools to help:
- Align Tool: For perfect alignment of objects.
- Pathfinder Tool: To combine or subtract shapes.
8. Test Your Logo
Before finalizing your design, test how it appears in different formats. Consider:
- Backgrounds: Ensure it works on light and dark backgrounds.
- Sizes: Check its visibility in small sizes (e.g., favicons).
Exporting Your Logo
Once your logo design is complete, it’s time to export it. Follow these steps:
- Go to File > Export > Export As.
- Choose the desired format (PNG, JPEG, SVG, etc.).
- For print, use CMYK mode; for web, use RGB mode.
Conclusion
Designing a stunning logo with Adobe Illustrator is a fulfilling process that combines creativity with technical skills. By following these steps and utilizing the powerful tools within Illustrator, you can create a logo that not only looks great but also effectively represents your unique brand identity. Remember, a logo is more than just an image; it is the embodiment of your business’s values and aspirations.
FAQ
What are the basic steps to create a logo in Illustrator?
Start by brainstorming concepts, sketching ideas, and then use Adobe Illustrator to create vector shapes, apply colors, and refine your design.
What tools in Illustrator are best for logo design?
Key tools include the Pen Tool for creating custom shapes, the Shape Builder Tool for combining shapes, and the Type Tool for adding text.
How can I ensure my logo is scalable in Illustrator?
Design your logo using vector graphics, which can be resized without losing quality, and save it in formats like AI or SVG.
What colors work best for logos in Illustrator?
Choose colors that align with your brand identity; consider using a limited color palette for a clean and memorable design.
How do I test my logo design in different formats?
Export your logo in various formats such as PNG, JPEG, and SVG, and test how it looks on different backgrounds and mediums.
Can I use Illustrator templates for logo design?
Yes, Illustrator offers templates and pre-made assets that can help streamline your design process and inspire creativity.