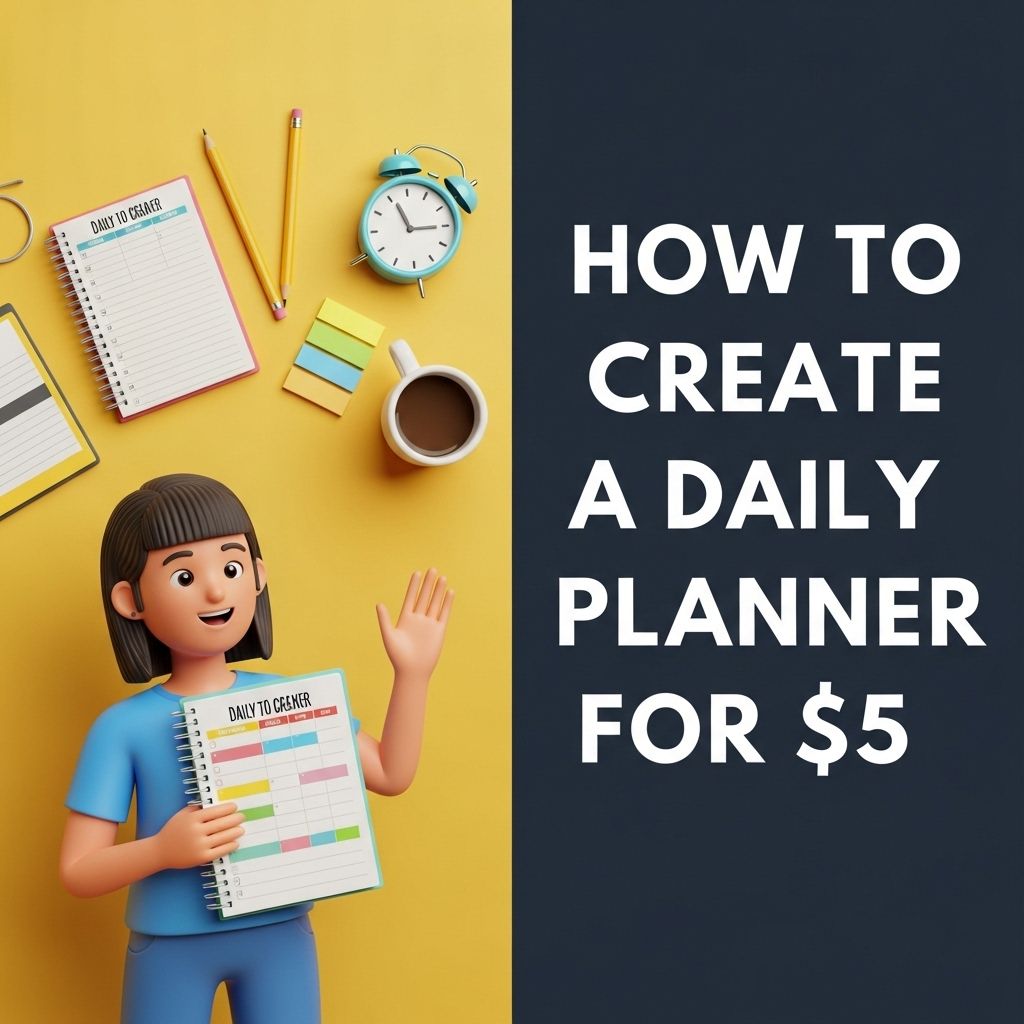
Creating an efficient daily planner can significantly enhance your productivity and help you manage your time effectively. In a world where distractions abound, a well-structured planner serves as a roadmap to guide you through your daily tasks, appointments, and goals. The best part? You can create a functional and aesthetically pleasing daily planner for as little as $5. In this article, we will walk you through the steps to create your own daily planner without breaking the bank.
Understanding Your Needs
Before diving into the creation of your daily planner, it’s essential to assess your personal needs and preferences. Consider the following:
- Purpose: Are you using the planner for work, school, personal projects, or a combination of these?
- Format: Do you prefer a digital planner, a printable version, or a traditional paper planner?
- Layout: Would you like a daily, weekly, or monthly layout? Understanding this will help guide your design.
Materials Required
To create your daily planner for $5, you will need some basic materials. Here’s a list of the essentials:
- Paper: You can use standard printer paper or invest in some heavier cardstock for durability.
- Writing Tools: Pens or pencils of your choice.
- Binding Method: Options include a three-ring binder, binder clips, or simply stapling the pages together.
- Printable Templates: Free templates can be found online to help you structure your planner.
- Decorative Supplies (optional): Stickers, washi tape, or colored markers for customization.
Designing Your Daily Planner
Once you have your materials ready, it’s time to design the layout of your daily planner. Here are some key sections you might want to include:
Daily Overview
This section can feature:
- Date: Clearly labeled space for the date.
- To-Do List: A checklist for tasks you need to accomplish.
- Schedule: Time slots for appointments and meetings.
- Notes: An area for jotting down thoughts or ideas.
Weekly Goals
At the beginning of each week, you can set specific goals. This section can be formatted as a simple table:
| Day | Goals |
|---|---|
| Monday | |
| Tuesday | |
| Wednesday | |
| Thursday | |
| Friday | |
| Saturday | |
| Sunday |
Monthly Overview
Having a monthly overview can help you keep track of important dates, deadlines, and events. You can create a simple calendar with:
- Boxes for each day of the month
- Space for writing important events
Printing and Assembling Your Planner
Once you have designed your planner pages, it’s time to print and assemble them:
- Print your designed pages on your chosen paper.
- Trim any excess paper if necessary.
- Organize the pages in order.
- Choose your binding method and secure the pages together.
Customizing Your Planner
Your planner should reflect your personality and style. Here are some ideas to customize your planner:
- Colors: Use colored pens or markers to add personality.
- Stickers: Incorporate motivational quotes or decorative stickers.
- Washi Tape: This can help organize sections and add flair.
Using Your Daily Planner Effectively
Creating a daily planner is only the first step; using it effectively is where the true benefits lie. Here’s how to make the most of your planner:
Daily Planning Routine
Establish a daily routine to utilize your planner:
- Morning Review: Spend a few minutes reviewing your planner each morning to set priorities for the day.
- Time Blocking: Allocate specific time slots for each task listed in your planner.
- End-of-Day Reflection: Review what you accomplished and adjust your to-do list for the following day.
Staying Consistent
The effectiveness of your planner largely depends on consistency. Here are tips to stay on track:
- Set reminders to check your planner daily.
- Integrate it into your routine, associating it with other habits (like morning coffee).
Conclusion
Creating a daily planner for just $5 is not only cost-effective but can also lead to significant improvements in your organization and productivity. By understanding your needs, designing your planner thoughtfully, customizing it to your taste, and using it effectively, you can create a tool that serves both your functional and aesthetic requirements. Take the plunge, unleash your creativity, and start planning your days with intention!
FAQ
What materials do I need to create a daily planner for $5?
To create a daily planner for $5, you will need basic materials such as a notebook or some sheets of paper, a pen or pencil, and optional decorative items like stickers or washi tape.
Can I design my own daily planner template?
Yes, you can design your own daily planner template using free online tools like Canva or Google Docs, which allows you to customize layouts, fonts, and colors to suit your needs.
What are the essential sections to include in a daily planner?
Essential sections to include in a daily planner are a daily schedule, to-do list, goals, notes, and a reflection section for end-of-day thoughts.
How can I make my daily planner more effective?
To make your daily planner more effective, set clear priorities for each day, review your planner regularly, and adjust your layout or sections based on what works best for you.
Is it possible to create a digital daily planner for $5?
Absolutely! You can create a digital daily planner using free apps like Google Keep or Notion, where you can easily organize tasks and access them on multiple devices.
What are some tips for sticking to my daily planner?
To stick to your daily planner, set specific times for planning, keep it visible, make it enjoyable with personal touches, and regularly review your accomplishments and adjust your goals.